Shooting stars are unpredictable and may appear anywhere in the sky. For this reason meteor photography is all about maximizing your chances for the best shot at capturing that elusive fireball. This means taking as many pictures as possible, covering as much sky as possible. If you happen to have a second camera then you can double your chances by pointing it at a different part of the sky. On any given night about 6 meteors per hour are visible from a dark sky. That means you could get lucky on any clear night. But of course the peak of a meteor shower is always the best time to be taking pictures. Here is the gear I recommend shooting with:
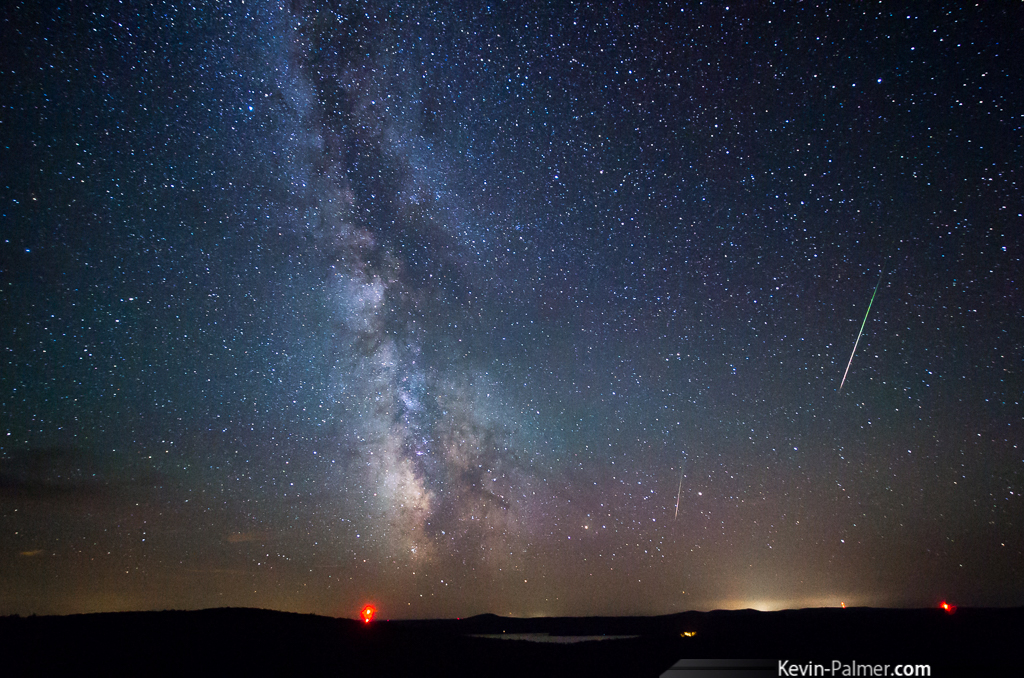
 One of the brightest meteors I’ve ever captured wasn’t even during a meteor shower.
Gear
- A camera that lets you take long exposures. High ISO sensitivity with low noise is a plus.
- An ultra-wide angle lens to take in as much sky as possible. Something like a Samyang 14mm f2.8 lens is an inexpensive option.
- A solid tripod
- Extra camera batteries, fully charged
- A memory card with plenty of space
- An interval timer. This may already be built into your camera.
- Hand warmers. In humid climates attaching these to your lens hood will help prevent dew or frost on the glass.
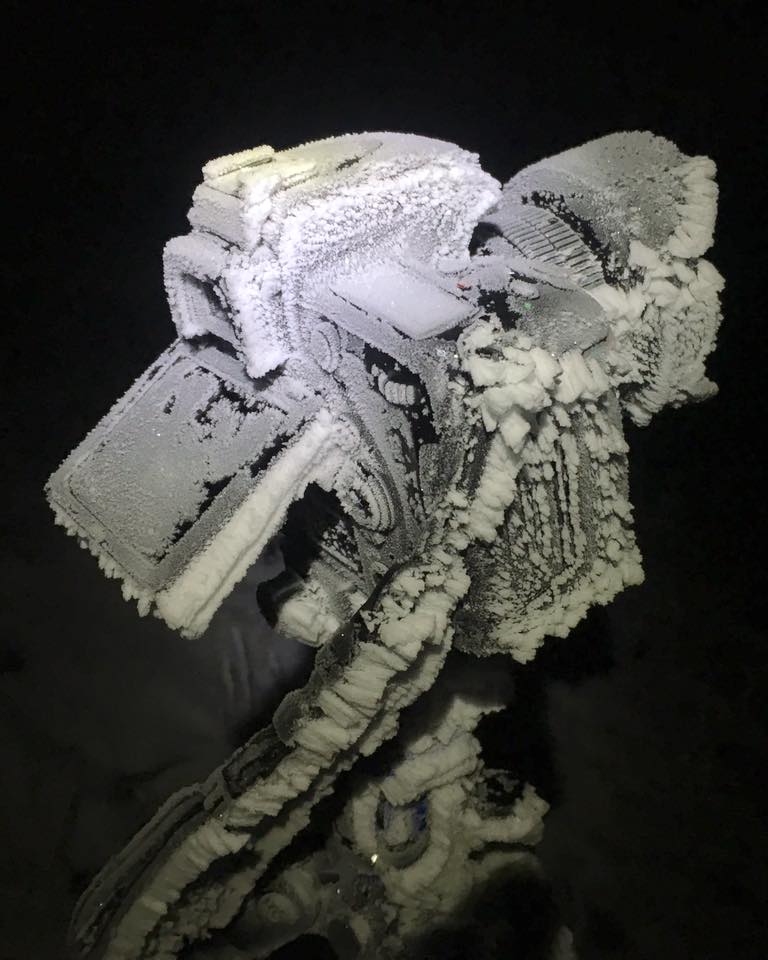 Astrophotography in winter certainly has it’s challenges!
Framing
Shooting from a dark sky is a must. In my experience it’s not worth attempting to capture meteors from a light polluted sky, because too many will be blocked out by the skyglow. Choose a dark site that has a clear view of the skies without too many trees, hills, buildings, etc. in the way. Pointing your camera straight up is one way to shoot. But I like to be able to connect the night sky to the Earth by including some sort of foreground. Usually I try to go for a composition of about 1/4 foreground, 3/4 sky. Look for a scenic view, a lake, a lone tree, an old barn, or something along those lines to make for a more interesting picture. Pointing your camera directly at the radiant of the meteor shower might seem like the best option. But meteors close to the radiant always leave shorter trails, while those further away may be longer. Keeping the radiant on the edge of the frame is often a good plan, keeping in mind that the stars will move throughout the night. Otherwise try to include a scenic part of the sky such as Orion or the milky way.
 The Perseids put on a great show over this mountain lake in 2016.
Camera Settings
- Set focus to infinity (∞). You may need to use live view to zoom in on a bright star and really nail down the focus.
- Use the widest aperture on your lens or stop it down slightly. Set the exposure to 20-30 seconds, and use a high ISO such as 6400. This may need to be adjusted based on the darkness of your sky or the moon phase.
- Take off any filters and turn off shake reduction on your lens or camera.
- Make sure your tripod is secure and won’t blow over.
- Set the interval timer to take continuous exposures for at least a couple hours. Be sure to check it periodically to see if you need to swap batteries.
While your camera is clicking away is a great chance to sit back and watch for shooting stars yourself. Make note of the time of any brighter ones you see, to make them easier to find later. I’ve found it’s often the case that I’ll see more meteors than I actually capture. The human eye can detect the motion of dim meteors better than a camera sensor can. But the rarer bright fireballs and bolides can make for some amazing pictures. Good luck!
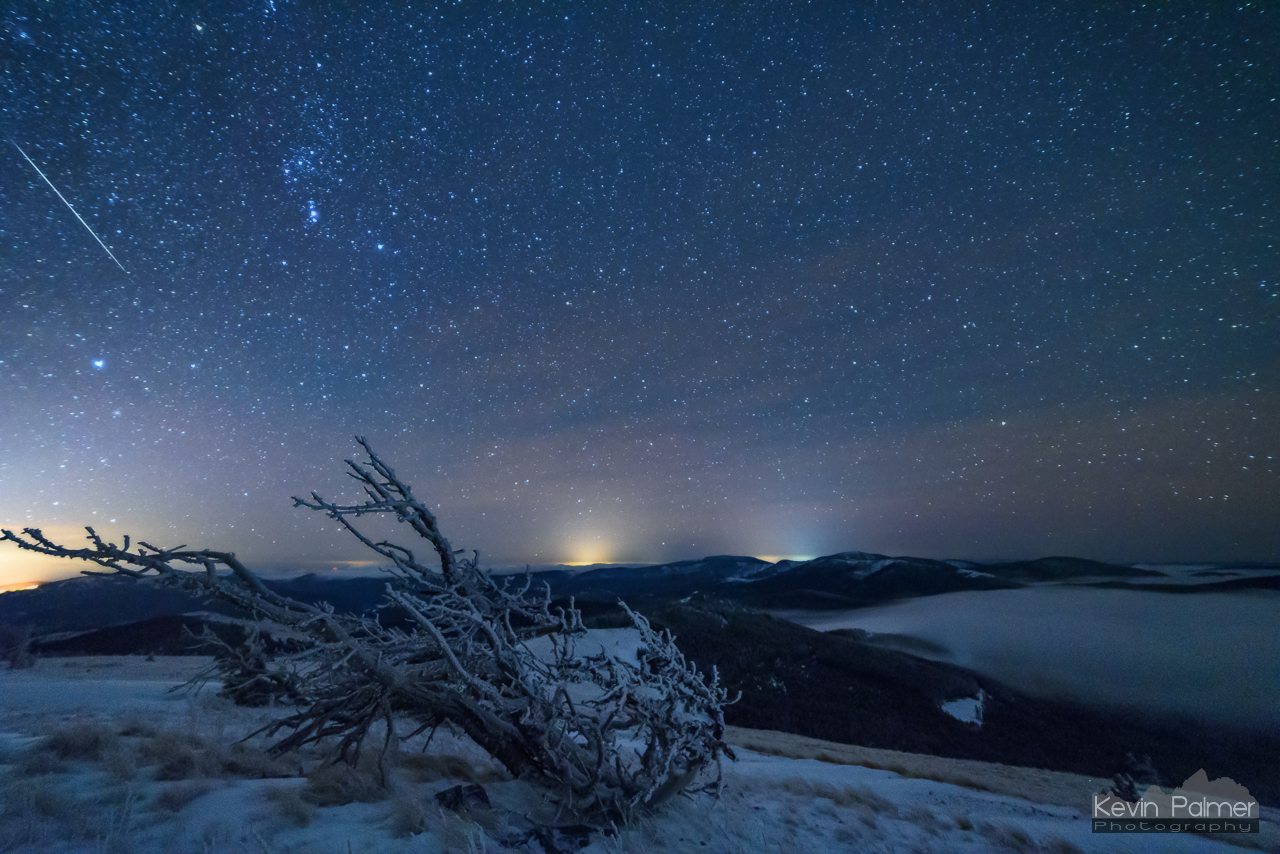 A Geminid meteor over the Rocky Mountains in 2017
Post-Processing
Editing meteor photos can be a pain-staking process. When you’ve just shot 500 images, finding the ones with meteors in them can take quite awhile. But that is the first step, going through and finding the meteor pictures and making note of them. Don’t be fooled by the numerous satellites and plane trails. Shooting stars will almost always be in one frame only. Basic editing in Lightroom involves setting the white balance, sharpening and reducing noise, and applying a lens profile to correct distortions. Dragging a radial filter over the meteor will allow you to apply local adjustments. Increasing the clarity, sharpness, and whites will make it stand out more.
2 colorful Perseids were captured in 1 shot from 2015 in Michigan.
Stacking
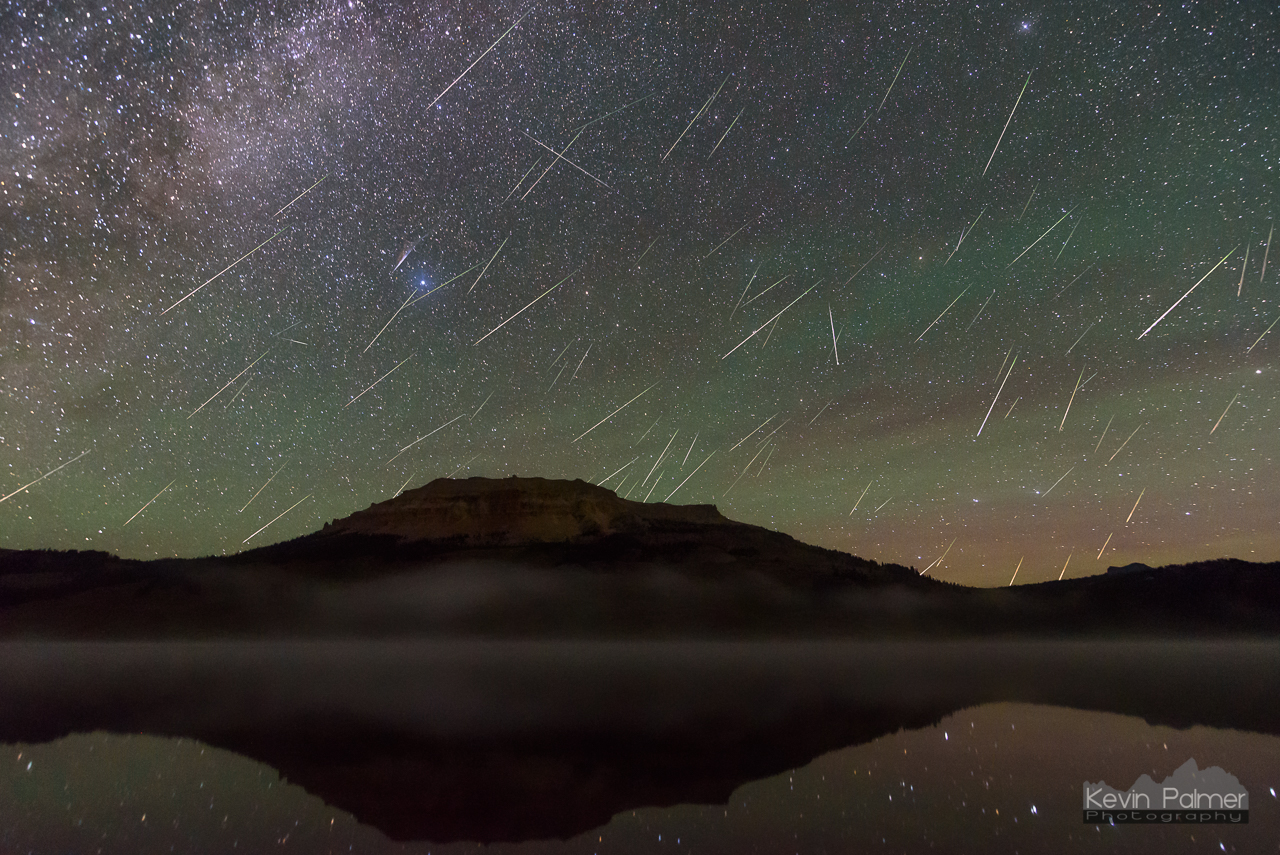
You may wish to stack all of your meteors into one image as a composite. This will require Photoshop and can be a time-consuming process. The first step is to apply the same settings to all the photos with meteors in them. Next select a base frame to use as the background. This may be a photo with the brightest meteor or the most photogenic view of the stars. After that open each meteor photo individually in Photoshop. Use the polygonal lasso tool to select the meteor. Then go back to the base frame and paste it with Ctrl + Shift + V. This will keep it in the same part of the sky where it originally was. It may be necessary to blend it in better by erasing around the edges or adjusting the colors slightly on the meteor layer. Do this with all the meteors you captured. Keep them as a separate layer on top of the background. Once you’ve finished, you can edit just the meteor layer. Adjusting the levels and sharpness will help increase their visibility against the background sky but be careful not to overdo it. The Geminid meteor shower of 2018 viewed from southeast Montana